How to Apply Epoxy Flooring
From tools and materials, to set up and preparation, to application and clean up, Thermal-Chem breaks down exactly how to apply epoxy flooring with our 7-step process guide. And please keep in mind that applying Thermal-Chem’s portfolio of high-performance concrete coatings can be difficult if the applicator is not well informed. Please check our Technical Data Sheets, or contact your Thermal-Chem representative for any questions.
Jump to:
Conditioning Materials
Setting up a Mix Station
Mixing of Products
Applying Resinous Products
Clean Up
Applying Subsequent Coats
Equipment Needed
- • Flat or notched rubber squeegee
- • Extension pole
- • 3/8” nap non-shed roller covers (9” for small jobs, 18” for larger projects)
- • 2” chip brushes for “cutting in” around edges and columns
- • Rags, disposable gloves, trash bags, tape
- • Low-speed drill (extra batteries if using cordless)
- • Proper mix blade-Jiffy blades are highly recommended
- • Mix area protection-cardboard or drop cloth
Conditioning Materials
Colder Temperature Projects
- (<55 Degrees F) Colder resinous materials when stored in colder temperatures may be more difficult to apply due to an increase in the products viscosity.
Warmer Temperature Projects
- (>75 Degrees F) Resinous coatings create heat during the curing process. When materials are stored in warmer conditions they will “kick” or begin the cure process quicker, making application and working times decrease. Storing the Part B or hardener in a cooler environment will help increase working time.
Setting Up a Mix Station
- • FULLY READ the Thermal-Chem product Technical Data Sheets (TDS) BEFORE making first batch. There are many variations of mix ratios between products and manufacturers.
- • Use proper PPE (personal protective equipment) such as safety glasses, gloves, and arm protection such as a long sleeve shirt to prevent products from coming in contact with skin.
Mixing of Products
- • Always pre-mix the pigmented epoxies.
- • Mix using a low-speed drill. If materials are mixed too fast, air can be whipped into the product leading to bubbles forming on the floor. Avoid creating a vortex with the mixing paddle.
- • Pour the hardener into the bucket first and then the resin into the hardener. Hardeners have a lower viscosity and do a better job of “wetting” the mixing pail.
- • Understand the difference between “pot life” and “working time”.
Pot-Life – the amount of time once a curing agent comes in contact with a resin in a mixing container.
Working Time – once the products are properly mixed (usually 3-4 minutes, check TDS) and distributed onto the floor until the time when the products begin to set-up or become difficult to use due to an increase in viscosity.
- • Mixes that are made in larger mixing containers such as a 5-gallon bucket will begin to cure quicker due to the mass of both components. For example, a 5-gallon mix will begin to “kick” quicker than a mix made in a 5-quart mixing container.
- • Epoxy Products – once mixed thoroughly should be poured onto the surface in ribbons to allow the applicator more working time.
- • Make sure to scrape out each measuring bucket fully and properly.
- • Polyurea/Polyaspartic Products – once thoroughly mixed should remain in the mixing container and only poured onto the floor in an amount the applicator can properly spread in 10-15 minutes. (This is exactly opposite of epoxy products)
- • Make sure all products to be used SDS (Safety Data Sheets) are available on each jobsite.
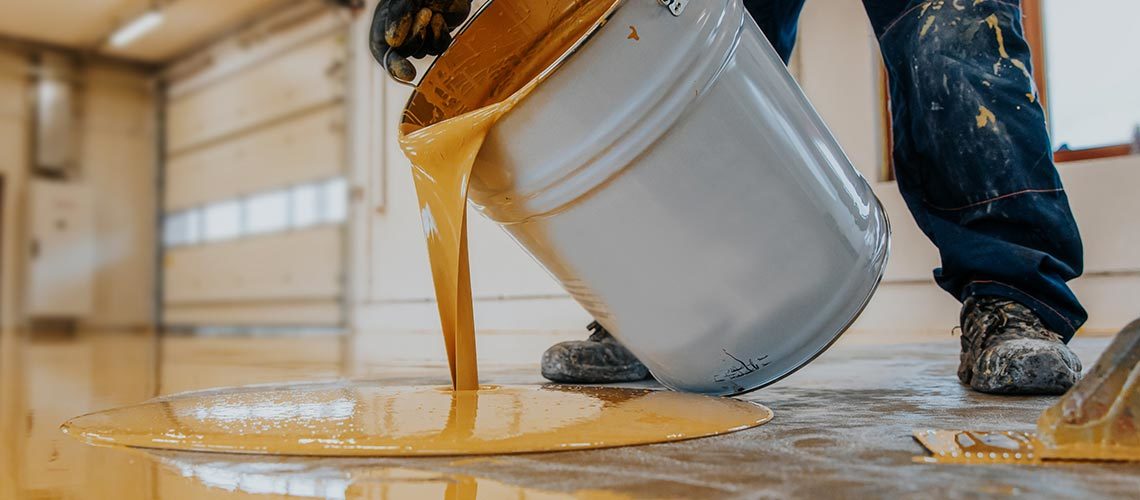
Applying Resinous Products
- ◦ Pour mixed product onto floor surface in ribbons (around perimeter) DO NOT FLIP MIX BUCKET USED ONTO THE PROJECT FLOOR TO TRY AND CAPTURE RESIDUAL MATERIALS. THIS WILL IN MOST CASES LEAVE A SPOT OF UNMIXED MATERIAL CREATING A SOFT SPOT.
- • Using the squeegee pull the materials across the floor surface at the approximate desired thickness. The squeegee should be held at a 45-degree angle with medium pressure.
- • Saturate the roller cover in the mixed product. This process of “loading” the roller cover will help prevent air bubbles in the coating applied.
- • Using the saturated roller cover roll out the materials. (using a wet film gauge is a handy tool for applicators to use to check the mil thickness of materials applied.)
- • Back-roll entire surface. This will be the method to ensure the liquids just applied are evenly applied.
- • Typical Coverage Rates* for Thermal-Chem’s high performance concrete coatings:
- ◦ 100 square feet per gallon will yield a nominal 16 mils
- ◦ 160 square feet per gallon will yield a nominal 10 mils
- ◦ 200 square feet per gallon will yield a nominal 8 mils
- *These are based on using 100% solids products
Clean Up
- • Clean application tools and mixing blade with a solvent such as xylene or acetone.
- • Remove any tape used for edges, used buckets, roller covers etc., dispose of properly.
Applying Subsequent Coats
- • If applying an additional coat this should be completed within 24 hours. If more than 24 hours the surface must be lightly abraded to ensure proper adhesion.
Applying Thermal-Chem’s portfolio of high-performance concrete coatings can be difficult if the applicator is not well informed. Please check our Technical Data Sheets, or contact your Thermal-Chem representative for any questions.