Simple Cup Adhesion Test
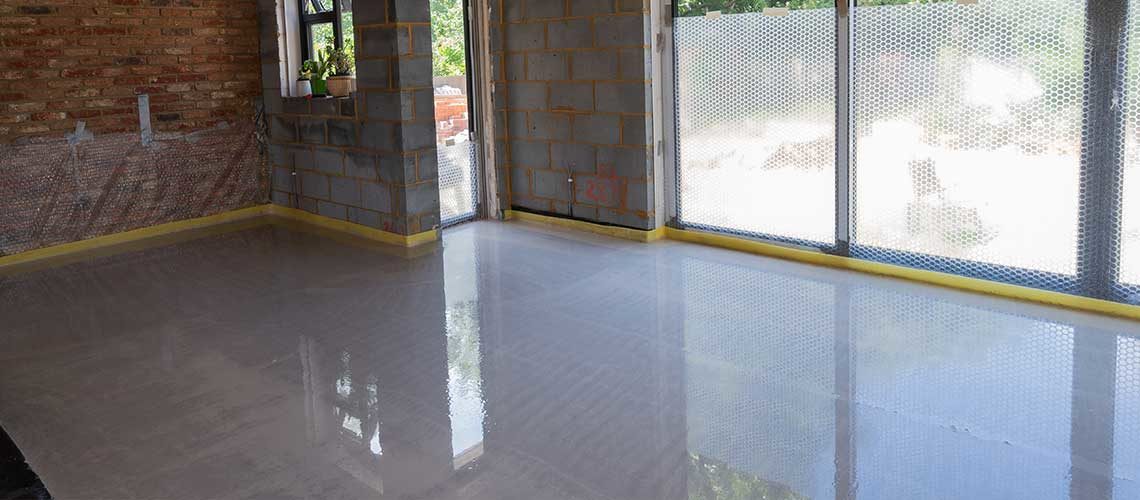
Is Your Concrete Properly Prepped for Epoxy Coating?
This test method can be used to determine the cleanliness of a concrete surface for the adhesion of epoxy coatings, epoxy overlays and areas requiring patching with epoxy. It can also be used to test the adhesion of the finished epoxy system to the concrete surface. This is a shear test method. For a full breakdown of everything you’ll need to ensure success, check out our post on preparing concrete for epoxy.
The Simple Cup Adhesion Shear Test will indicate whether:
- The concrete surface is clean and sound enough to allow adhesion of the polymer to the surface.
- The surface preparation process has or has not produced the desired results.
- The finished epoxy coating or overlay has an adequate bond to the concrete.
Equipment and Materials Needed:
- Non-Styrofoam 8 oz. paper cups of the type used for hot coffee.
- Dry, clean silica sand.
- One (1) mixing tool. Spatula or 1 in. wide margin trowel.
- Method of measuring small quantities of epoxy and sand. Gram scale for weighing, or volume measuring cups if the product is available as a volume measurement.
- Neat epoxy components.
- A 2 lb. hammer.
- When testing for adhesion of the finished system, a concrete core cutting drill and bit with a diameter of 2.75 in. will be required.
Description of Test:
- Clean the concrete utilizing the same process specified for the project, following the polymer manufacturer’s written guidelines for surface preparation.
- When oil or chemical spills have occurred, mark those locations on an accurately detailed measured plan. Select the areas with the heaviest contamination on the concrete as locations for testing in each sector.
- For cleanliness and soundness, place one test per every 500 ft2. For adhesion of the finished epoxy system, place one test per every 1,000 to 4,000 ft2.
- Evenly cut a 2 in. slice off of the top of an 8 oz. paper cup. The top portion will be used as a form to hold the epoxy in place during the curing process.
- Using the same product that will be placed on the concrete surface, follow the mixing directions of the polymer manufacturer. Using neat material, add 5 parts silica to the mixed epoxy and blend until an even homogenous epoxy grout has developed. The consistency of the mix should be a little dryer than pourable grout but wet enough to be self-priming.
- Place the narrowest diameter end of the cup form on the concrete surface to be tested. Pour the mixed epoxy and sand into the form at about 1-inch deep. Move the epoxy around in the form to wet out the concrete surface with the mixing tool. Compact epoxy grout and immediately fill up the balance of the form with the uncured EPC, compact again and strike off the top.
- Allow epoxy grout to cure and become tack-free.
- With one blow, carefully hit the hardened epoxy cup sample with the hammer to separate the cup sample from the concrete.
- When testing a finished epoxy system for adhesion, pre-drill 3/8-inch deep into the concrete at the area to be tested. Carefully vacuum up all dust from the drilling process then follow the above steps for test placement and testing.
Types of Failure
- Cohesive concrete failure: The failure is in the concrete. Most desirable type of failure. Indicates that the epoxy is properly cured and adhering well to the substrate.
- Cohesive polymer failure: This failure is caused by not curing the epoxy long enough. The test must be redone allowing for a longer curing period.
- Adhesive failure: A separation of the polymer from the concrete surface. This failure indicates that the concrete needs additional surface preparation.
Inspection of Test Samples
- Record each type of failure and location.
- Record failure by the percentage of concrete adhesion to the epoxy grout.
- Record thickness of concrete adhering to the epoxy noting thinnest, thickness, and average thickness over the entire area.
Acceptable Standards
100% cohesive concrete failure. This is a pass or fail test!
Rejection
- Test sample that does not meet the acceptable standard may be rejected. Unless otherwise specified, the concrete surface sector rejected shall be re-cleaned and re-tested as stated above.
- In the event of rejection, the sector rejected shall be re-tested in four locations of equal square footage to verify proper surface preparation.
- Cohesive polymer failure may be re-tested without re-cleaning.
- Adhesion failure of coating or overlay. Sound the floor with hammer or chain dragging methods to determine if other areas have not adhered. Saw cut perimeter of un-adhered areas 1/4 in. deep into the concrete. Remove coating or overlay. Re-clean exposed concrete surface. Re-test as stated above. After passing the test, reapply coating or overlay. Sound coating or overlay for adhesion.
Limitation
- This test method does not provide recordable values in inch-pound units, however, it does provide a test method for the determination of surface cleanliness and polymer adhesion to the concrete.