How to Install a Perfect Epoxy Cove Base Every Time
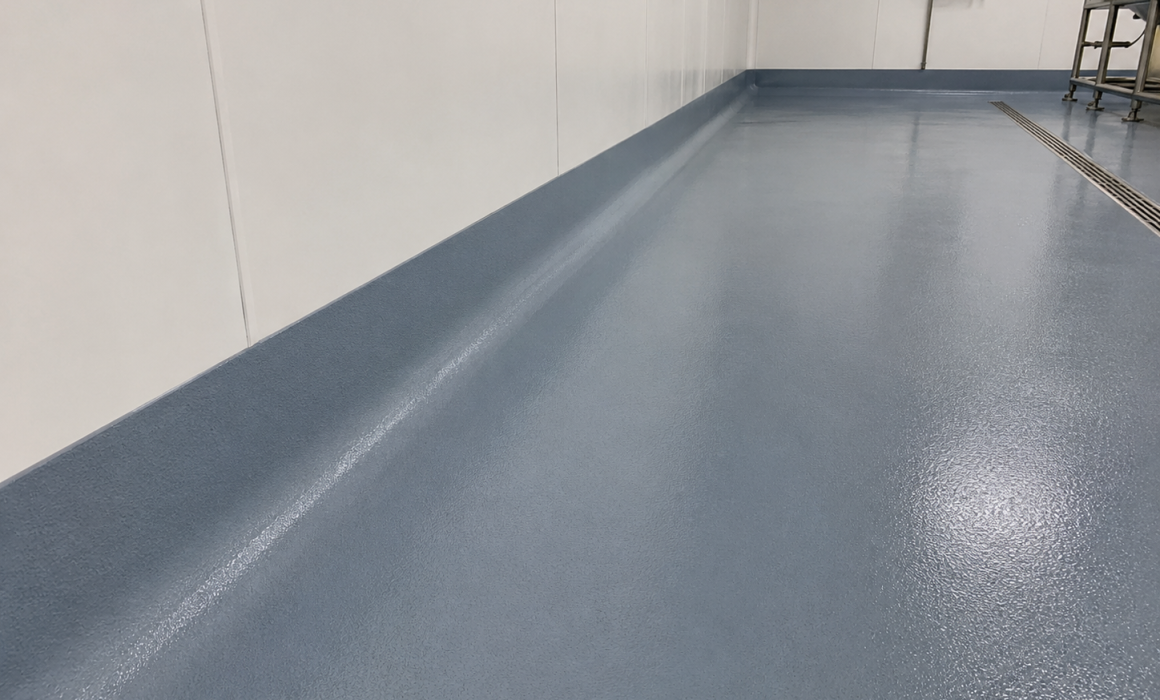
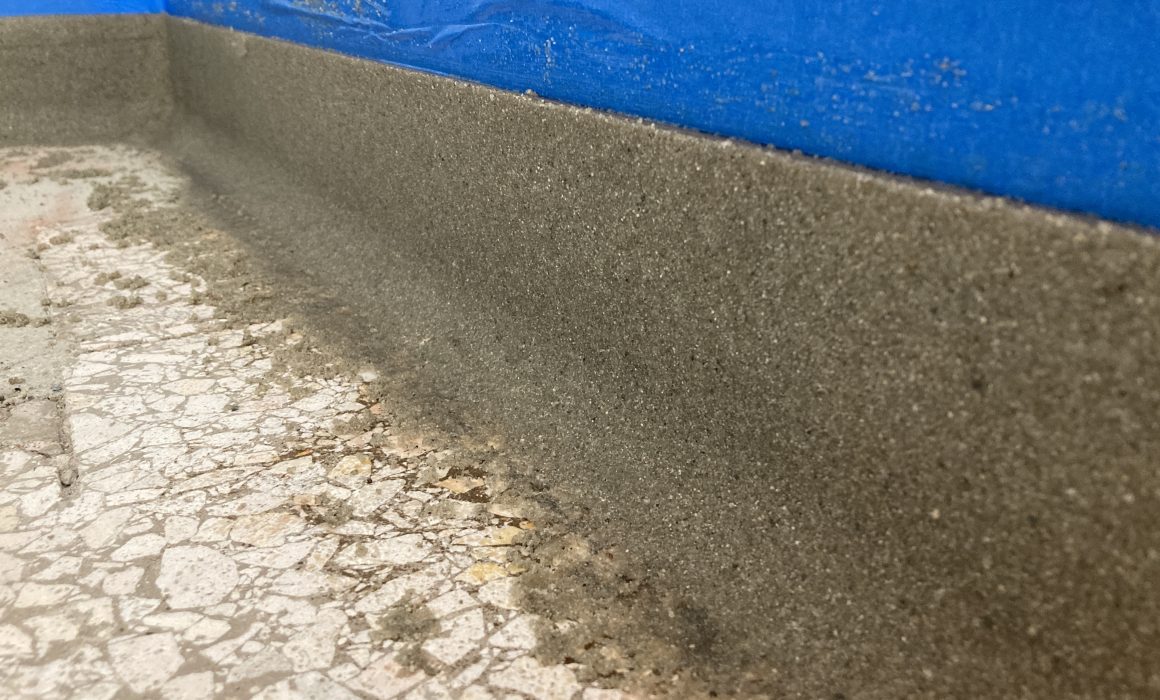
An epoxy cove base is the detail that turns a good floor into a sanitary, inspection-ready floor. It carries the floor up the wall in one seamless piece, so there is no joint at the wall line for water, food, chemicals, or bacteria to hide in.
In our earlier post, Epoxy Cove Base: What It Is, Where It’s Used, and Why It Matters, we covered why facility owners and specifiers call for cove. This post is for the installer who has to build it. Cove is slow, hand-troweled work, and it’s where a lot of contractors lose time and money because the mix is easy to get wrong.
Below is our step-by-step installation process, plus the premeasured 726-CV Cove Base Kit we built so you get the same mix in every batch.
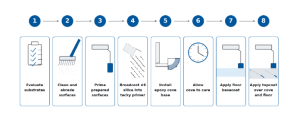
How to install an epoxy cove base
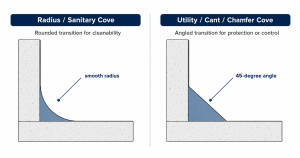
These steps are for a troweled radius (sanitary) cove, typically 4 to 6 inches high and 1/8 to 3/8 inch thick. A utility or cant cove follows the same process, with a strip of doubled duct tape marking the height instead of a cove strip. Always install the cove before the floor system goes down.
- Prep the floor. Shot blast or diamond grind the concrete to an ICRI CSP 2-3 profile, then vacuum thoroughly. New concrete needs at least 28 days of cure and must be free of laitance and curing compounds.
- Prep the wall. Whatever the wall is (CMU, concrete, drywall, plaster, ceramic tile, FRP), abrade it with a hand grinder and 60 or 80 grit paper. The wall needs to be solid and well supported.
- Set your height line. Install a cove strip, tape, or a metal “L” or terrazzo strip along the wall at your finished height (4 or 6 inches). It gives you a clean top edge and keeps the thickness consistent around the room.
- Prime. Brush or roll a thin coat of neat resin onto the wall and floor transition. Work it into porous block aggressively. Very porous surfaces may need a second prime or fill coat.
- Give it teeth. Once the primer gets tacky, lightly sprinkle fine silica (such as #6) into it. This gives the cove mix something to grip so it doesn’t slide as you trowel.
- Mix the cove mortar. Always add the sand to the mixed liquid, never the liquid to the sand. Mix for about 2 minutes until every grain is wet. The mix is right when you can trowel it 6 to 8 inches up the side of the bucket and it holds its shape.
- Place it. Apply the mortar to the wall with a margin or standard trowel while the primer is still tacky. Only mix what you can place and finish in 15 to 20 minutes.
- Shape and close it. Run a cove trowel matched to your radius and height to compact the material and form the cove. Keep working until trowel marks are gone and the surface is tight and smooth.
- Clean it up. After an overnight cure, knock down burrs or high spots with a hand sander or grinder.
- Coat it with the floor. Install the floor base coat, then topcoat the cove and floor together for a continuous, seamless finish.
One rule with no exceptions: never use solvent to thin the mix or as a trowel lube. It weakens the cured cove.
Where cove jobs go wrong: the mix
Most cove problems trace back to the mortar. A typical field mix runs about 7 to 7.5 parts sand to 1 part resin by weight, and small changes make a big difference.
- Too wet and the cove sags or slumps down the wall before it cures.
- Too dry and it’s hard to trowel, won’t close up, and leaves a porous surface that soaks up topcoat.
- Inconsistent batches mean every bucket handles differently, so the cove looks different from one wall to the next.
Weighing sand and resin on a job site, batch after batch, is slow and easy to get wrong. That’s why we packaged it for you.
Introducing the Thermal-Chem 726-CV Cove Base Kit
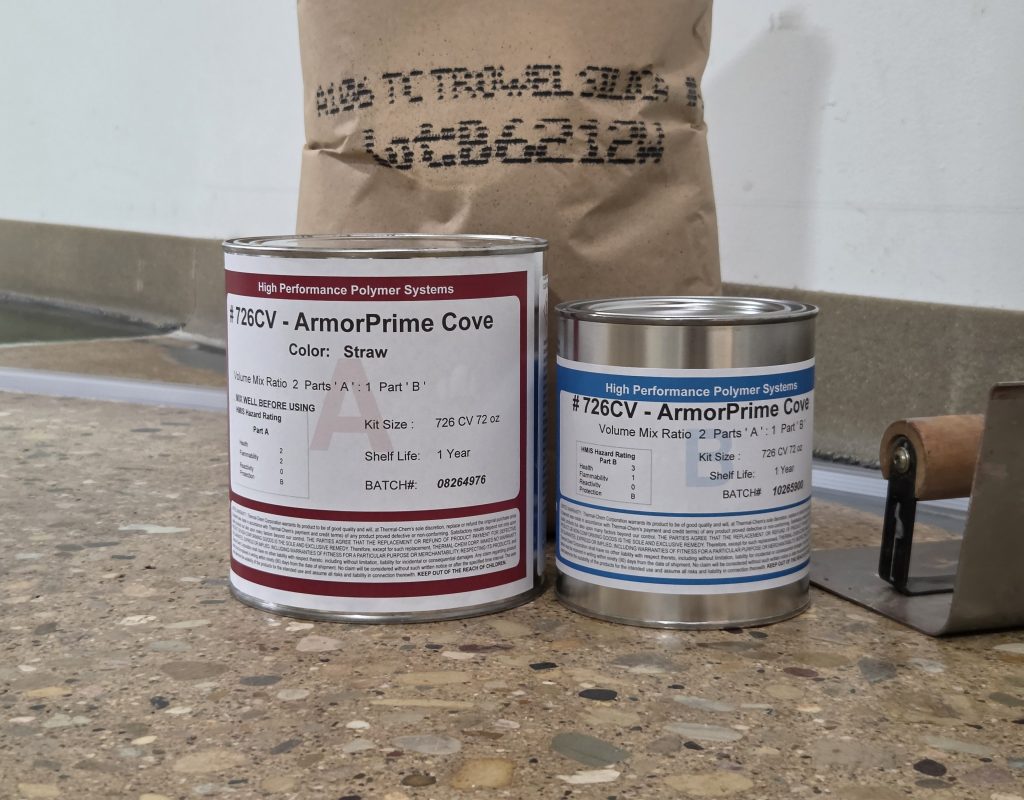
One kit = 23 lineal feet of 4″ cove (15 ft of 6″).
The 726-CV is a premeasured epoxy cove kit: 72 ounces of resin and a 33-pound bag of our cove-formula #5 trowel silica, matched so you get the same consistency every time. No scales, no guessing, no mix that changes from bucket to bucket.
The resin is a lower-viscosity cycloaliphatic epoxy with a built-in thixotropic agent. Once it’s mixed with the sand it stands up on the wall, so you get more working time, easier troweling, and less sag than a traditional epoxy and sand cove mix.
[Photo: 726-CV kit, resin and sand bag]
| Property | 726-CV |
|---|---|
| Solids / VOC | 100% solids, 0 g/L VOC |
| Working time | 20–40 minutes at 70°F |
| Dry to touch | 7–9 hours at 70°F |
| Recoat window | 7–23 hours at 70°F (lightly sand after 24 hours) |
| Light traffic | 24 hours at 70°F |
| Hardness | 70–80 Shore D (ASTM D2240) |
| Application temperature | 55°F to 80°F |
Coverage per kit
| Cove type | Linear feet per kit |
|---|---|
| 1″ cant/chamfer cove | 30 |
| 4″ cove base | 23 |
| 6″ cove base | 15 |
Need it to cure faster? Ask us about Product #727.
How to use the 726-CV
- Prep the floor and wall as described above.
- Prime porous surfaces with a thin coat of 726 resin to wet them out, and lightly broadcast fine sand into the tacky primer.
- Mix the resin components, then slowly add the full bag of cove sand and mix about 2 minutes until fully wetted out.
- Place, shape, and compact with your cove trowel against your cove strip, finishing within your working time.
- Let it cure overnight, sand any high spots, and coat it along with your floor system.
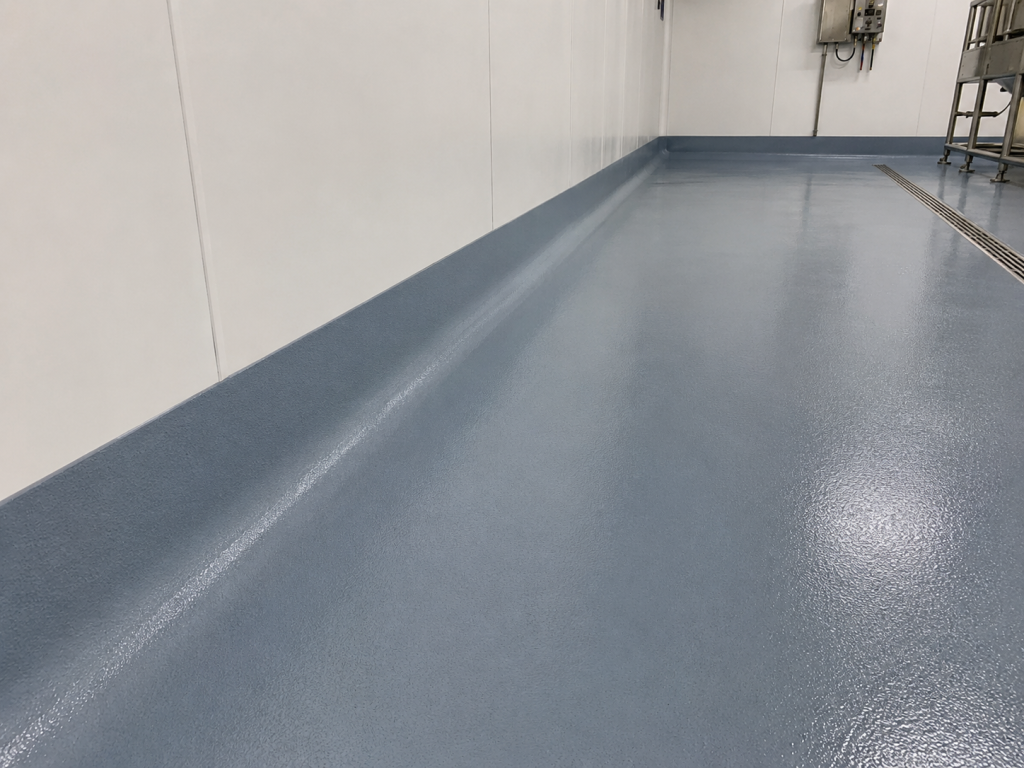
Complete the job with our plastic cove strips
We also carry plastic cove strips. They set a clean, straight top edge at a consistent height around the whole room, and they make the cove faster to shape and easier to make look professional. Add them to your 726-CV order.
See it in action
Watch our short video of a 726-CV cove going in: 726-CV Cove Base Kit on YouTube
Order the 726-CV or talk to our team
The 726-CV and cove strips are made and stocked at our Broadview, Illinois plant. Call us at (800) 635-3773 or email sales@thermalchem.com for pricing, the technical data sheet, or help choosing the right cove for your floor system.
Downloads: [726-CV Technical Data Sheet (PDF)] · [Cove Base Installation Guide (PDF)]